If you click on the the actual posts on the right
you can get them in order..
So click on insrtuctions #1
then #2
then #3
then #4..
and then it might make sense.....
Friday, April 18, 2008
#3 of Instructions

*Cut two 5x5 pieces of coordianting CS. Glue to Last M page
and back side of O page.

*Using you crop-i-dile adn large eyelets. Put a hole
in the middle of all 3 flowers and set large eyelet.

*take two pieces of ribbon, tye a knot in one end, trim and
slide through eyelet.

*Attach flowers and extra ribbon with glue dots.
*Using your crop-i-dile atttach 3 large eyelets left side of
word bloom.

*To make flower embelishment, use photo thingies make
a bloom thing and attach.
#2 of Instructions
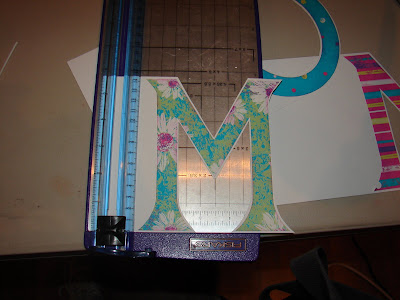
MOM Word Bloom Tutorial #1 of Instructions

*Cut your letters with your cricut or hand made letters.
I set my cricut expression to cut 6inch letters and they
messured out to be 5 3/4.white daisey card stock.
*Cut 3 pieces of 5 3/4 x 12

*With your sponge and choice of color, sponge your letters
*Glue them to the outer edge of white daisey cardstock, allow
for a border when you cut out your letters.

*Cut your letters leaving a little border around all letter edges.

*T0 cut your first M, Measure about 1.5 inches from the bottom
left had corner of the M.
*Then I eye ball where to cut my O.
Monday, April 14, 2008
Subscribe to:
Posts (Atom)


